




Expert - 29" Velo / High Aspect Series
$2449.99
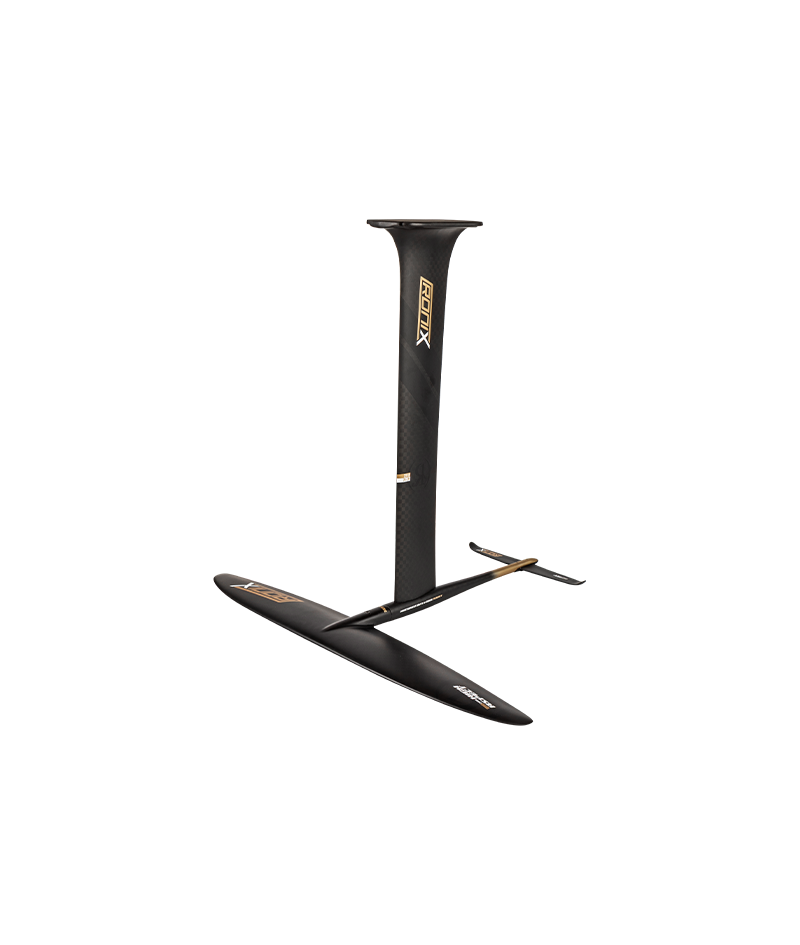
Space age materials meet F1 technology manufacturing mixed with ultra efficient foil designs.


SUMMARY
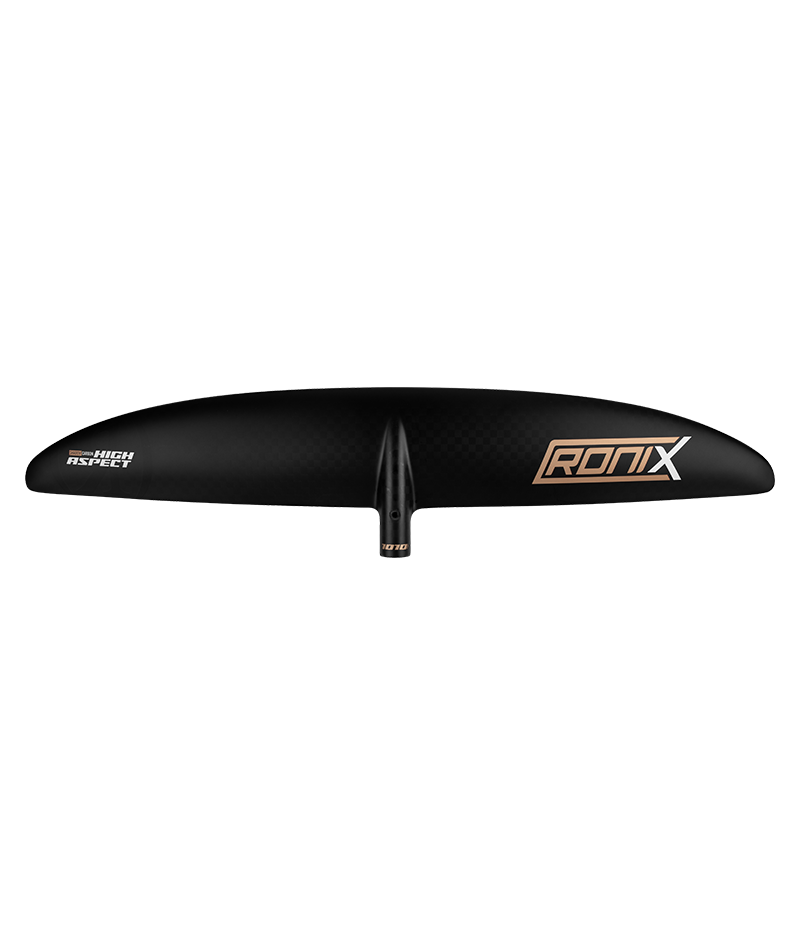
HIGH ASPECT FRONT WING - 910cm² / 1010cm²
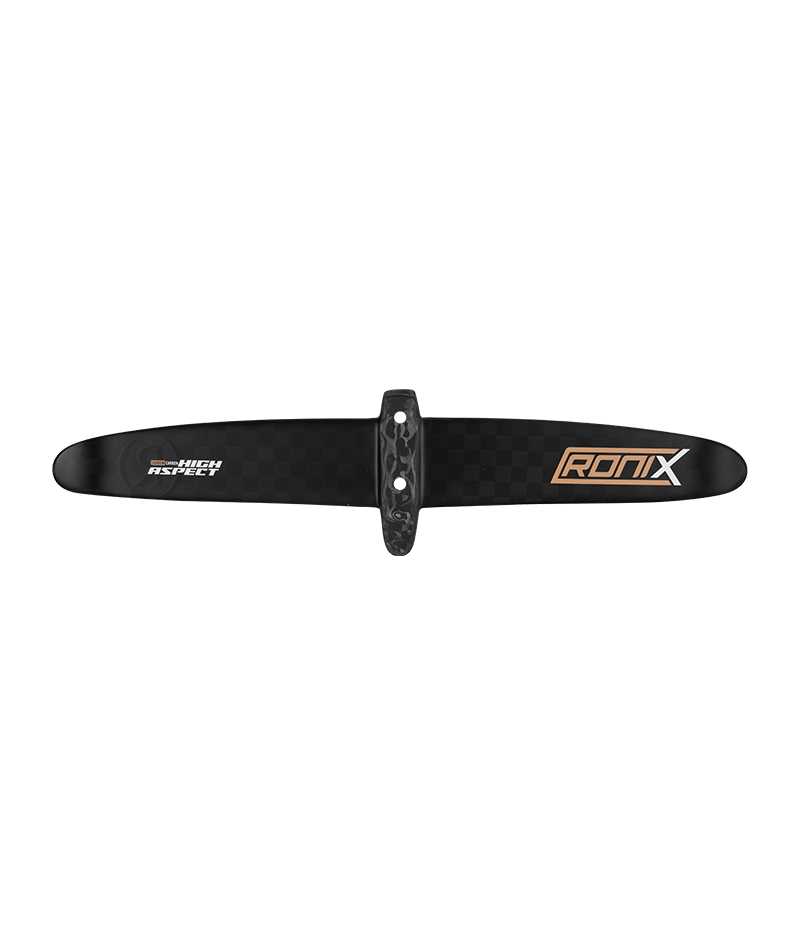
HIGH ASPECT REAR STABILIZER - 135cm²
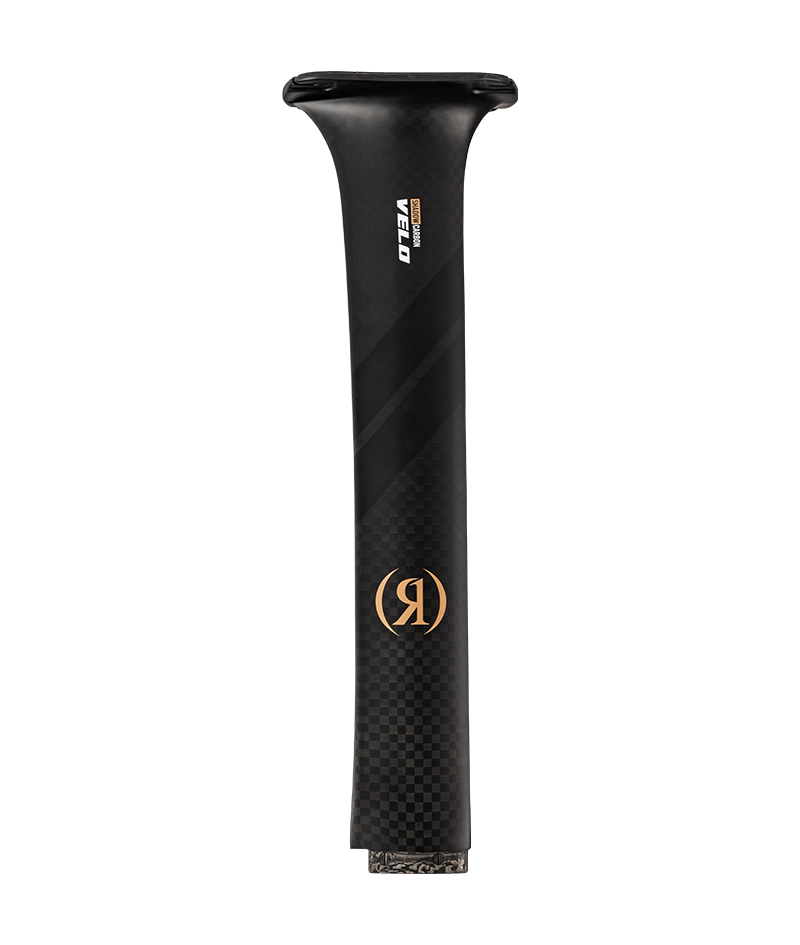
VELO MAST - 29"
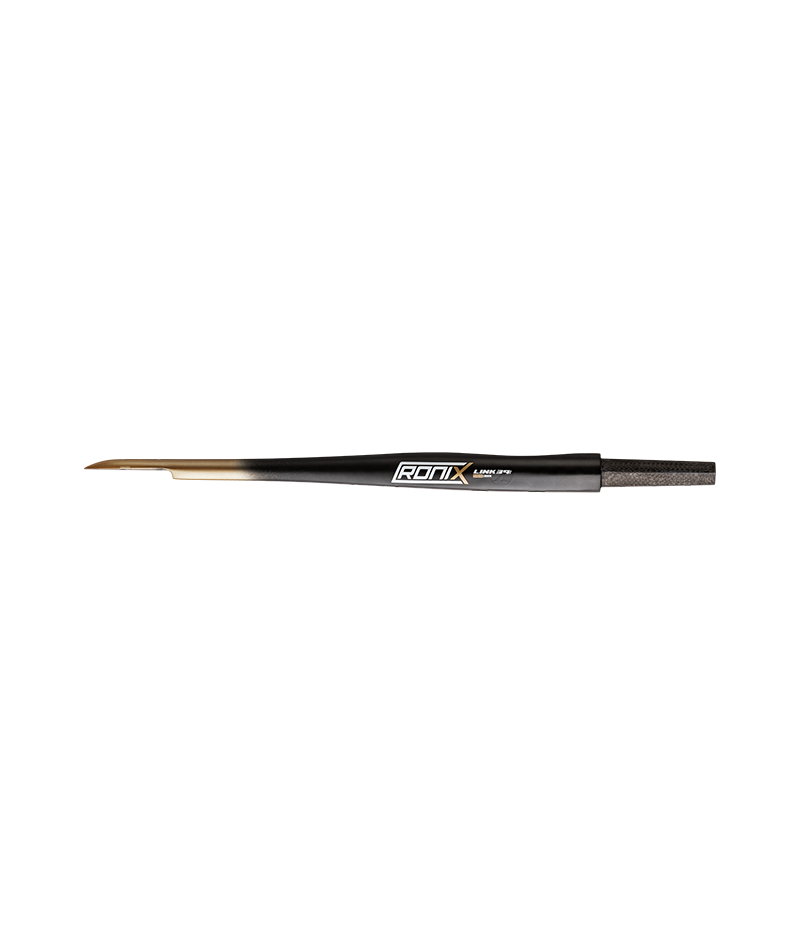
LINK FUSELAGE - 39cm
ABILITY: EXPERT
TECHNOLOGY AND DESIGN CREATING THE ULTIMATE HYDROFOIL ENGAGEMENT
We’ve all heard it. High Aspect. Look at our version of thin, wide and reactive. Why would a wakeboard company claim to be making the ultimate high end set up? First let’s kick off with the construction. We developed a new core in our velo mast for 2026 – same reaction time, and turning radius – now it is just truly effortless gliding in the water. As you go thinner and narrower chord width it is easy to create unwanted flex in your wing resulting in instability and loss of power. On our wing construction – no expense was spared, like most of our foil set ups we use a high grade prepreg spread tow carbon fiber manufactured in our exclusive autoclave factory. The advancement was how many layers of carbon we are using – but also where we apply the fibers. Most of our laminates are wrapping from top to bottom or vice versa – creating torsional rigidity unlike anything we have ever ridden that thin – allowing us to get more power out of smaller engine size. Our white lab coats engineers would be bummed if we disclosed the nuances – but we truly feel this is the premier High Aspect for the needs of wake.
HIGH ASPECT FRONT WING
910cm²/1010cm²
BIG CUTS AND EVEN BIGGER TOP END SPEED.
Finally, a High Aspect wing with unparalleled drive designed for the needs of riding behind a boat. The most efficient wing in the Ronix line, the new High Aspect front wing was designed for the experienced foiler who appreciates the performance benefits of high-speed riding and increased attack angle. In wakefoiling we prioritize stall speed and tight arcing turns. By embracing a high aspect style of front wing shape the wing features a superior reduction in drag for an acceleration that holds more energy maximizing pump and glide. This front wing gives a rider the ability to effectively execute tricks and wave transitions with a consistent and precise feeling. With a unmatched spread tow carbon autoclave construction and some design theories never been used in foiling - enjoy the sensation of increased energy and hydrodynamic proficiency with this new High Aspect Series.
VELO MAST
29"
A NEW HIGH-END MAST THAT SHADOWS YOUR MOVEMENTS.
A dedication to natural glide wrapped in some groundbreaking technology and a new 29” construction. We have a lot of new products in our 3rd installment of foils. Possibly our most cherished product is our new Velo Mast checking all the lighter, faster, stronger boxes. We have reduced the weight by upwards of ! of a lb. all the while creating a stiffer, more reactive product. Welcome to the building block of our high-end anti twist pleasure seeker. Countless suppliers, years of sourcing, and hundreds of prototypes (we miss you white lightning) led to this – the spirit of carbon working in a way we only dreamed imaginable. Enjoy down the line drive mixed with a hard charging hairpin arc as you make hundreds of feet from your boat a levitating aquatic gymnasium. Fabricating a lightweight carbon mast is easy. Crafting an electrifying mind reading device that will predict your next and every move – that requires a persevering dedication to transcendent materials and processes. This was arguably the biggest undertaking in the history of Ronix. We needed a spread tow carbon fiber that would evenly disperse the energy in a way we haven’t ever experienced in a traditional carbon fiber, then we applied each laminate in its own unique degree of angle that will highlight your every move. This is where the name Shadow came about; as we started to ride our rotating clockwork of laminates, we noticed the mast was mimicking our movements, not fighting our weight changes. How does this happen? Anti-twist – there is so much torsional strain happening while foiling, and your mast is constantly fighting with this stress. So, we created a truly anti-twist layup that will always put you in the driver’s seat of your motions. Last but not least, is Velo – short for velocity. You can now transfer to the 4th wave with the same ease as you could our aluminum mast on the second wave.
HIGH ASPECT REAR STABILIZER
135cm²
UNPARALLELED DRIVE AND CUTBACKS
Following the lead of the new High Aspect Front wing this stabilizer maintains the feeling of balance and consistency even at higher speeds.Additionally, an important consideration in any HA rear stabilizer is its ability to confidently load and hold energy through a turn. This is achieved on the High Aspect Rear stabilizer by using winglets that are tapered into the wing tip to allow for a reduction in turbulence while providing a confident hold. This allows the rider to build power pushing through and maintaining angle when loading energy during a turn. Dial in your flight path and feel confident in your foil’s ability to handle higher speed maneuvers.
LINK FUSELAGE
39cm
HIGH ENERGY OUTPUT
Premier manufacturing and materials for a rider that wants extra snap out of a turn and feedback with their pumping. The Link is the intersection to the mast, front wing and rear stabilizer with perfection in every attribute. This streamlined conical design achieves the highest marks of anything we have ever tested in rigidity and water efficiency. A strong efficient link is in many ways the driving force to a smooth, predictable foiling experience. This version is made with our premier form of manufacturing and materials with autoclave and Shadow Carbon.


Also Includes
High Aspect Front Wing Neo Sleeve | High Aspect Rear Stabilizer Neo Sleeve | High Aspect Mast Neo Sleeve |
Padded Foil Kit Bag | High Aspect Surf Sock | Hardware Case |
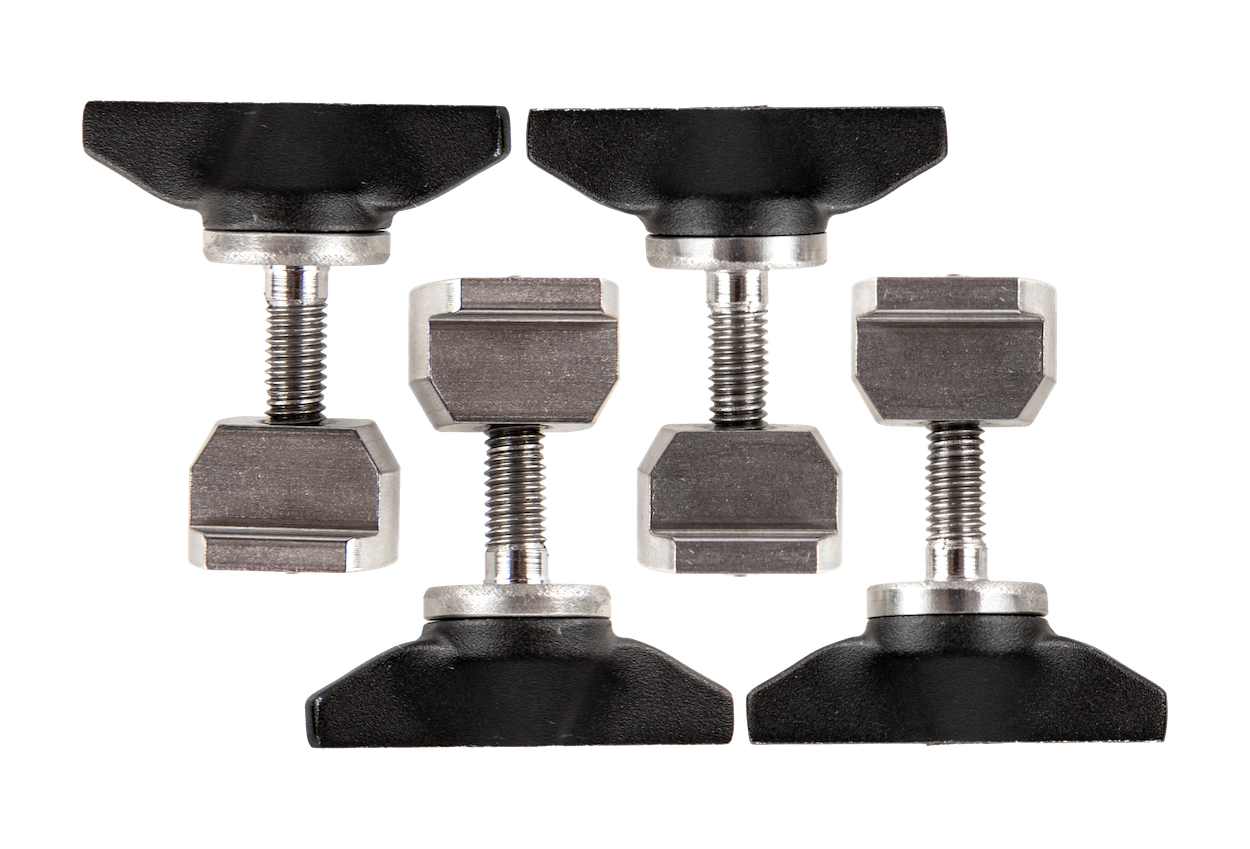
Hardware | +1° Shim & -1° Shim | T Handle Tool |
Anti-Seize Grease | Quick Release Hardware | Foil Sticker Sheet |
 |



ASSEMBLY
VELO MAST / HIGH ASPECT WING
1.A - MAST TOP PLATE TO BOARD (DETERMINING MAST POSITION)
Place your foil board upside down on a flat stable surface.
Grab your Velo mast and look at which profile of the mast is thinner vs. which profile of the mast is thicker. The thinner profile edge of the mast is your trailing edge and should be pointing towards the tail of the board – vice versa on the thicker profile edge.

1.B - MAST TOP PLATE TO BOARD (ASSEMBLY)
Now locate all four of the pieces of hardware labeled foil board track screws and track inserts. Make sure each of the screws are threaded into the track inserts – but barely threaded at first until they are in the correct location. Now put two of the track inserts into the left track – one of them all the way up the track and the other one all the way down the track. Now repeat this with the right track with the additional two track inserts. With all four inserts located in all four corners of the track – set the mast top plate in the middle of the track. Be sure the trailing edge of the mast is the thinner profile end – and is pointing towards the tail of the board. Then individually slide each screw/track insert so that it fits snug into the cut-out area of all four corners of the mast top plate. Once all four inserts are all the way inside the cut outs – you can tighten each screw individually. If you aren't sure where to put the mast top plate in relation of the board – we always recommend putting it close to the tail of the board with a lower number on our measuring guide. This lower number will create more stability – and you can gradually adjust your mast further forward for more lift and other personality features.
These four screws are labeled (B) and the four track inserts are labeled (C) on the illustration.

2 - FUSELAGE TO MAST
Take your fuselage with the receiving hole in the middle and insert the end of the Shift Mast into it. Then take the other two of the four screws in your hardware kit labeled mast top plate + Fuselage to mast screws and thread them through your fuselage and into the Fluid Mast.
These two screws are labeled (A) on the illustration.

3 - FUSELAGE TO REAR STABILIZER
Take both screws labeled rear stabilizer screws and thread those through the stabilizer and into the fuselage. Be sure and insert the screws into the countersunk hole of the stabilizer.
These two screws are labeled (D) on the illustration.

4 - FUSELAGE TO FRONT WING
Insert the fuselage into the receiving hole of the front wing. Then take all three screws labeled front wing screws and thread those through the front wing and into the fuselage. Do not apply the screws through the wing and into the fuselage if the holes are not lined up perfectly. If the screws are not lined up evenly – it's possible to cross thread your screws damaging both the screws and the fuselage.
On illustration (E) you will see one screw mounts from the top and two from the bottom.
